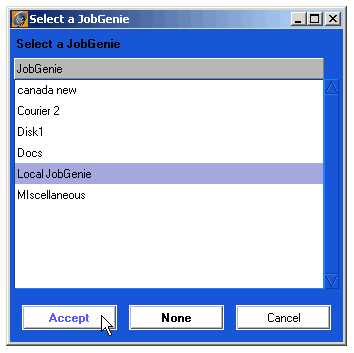
Once you have configured this stage you have completed one task. Save the JobGenie by selecting Save from the Project menu. Once done the Genie will be available for selection from the RIPs control panel. Select the TIFF Based RIP (User configurable), configure your base path to your TIFF files and select your Genie.
Once selected, save the RIPs configuration and call up the RIPs Monitor. Select the RIP and "poll now" three times to get a list of jobs. Shown below is a RIP monitor displaying the jobs that have been found using the JobGenie that we have just configured. To see where we configured the display name see Display.
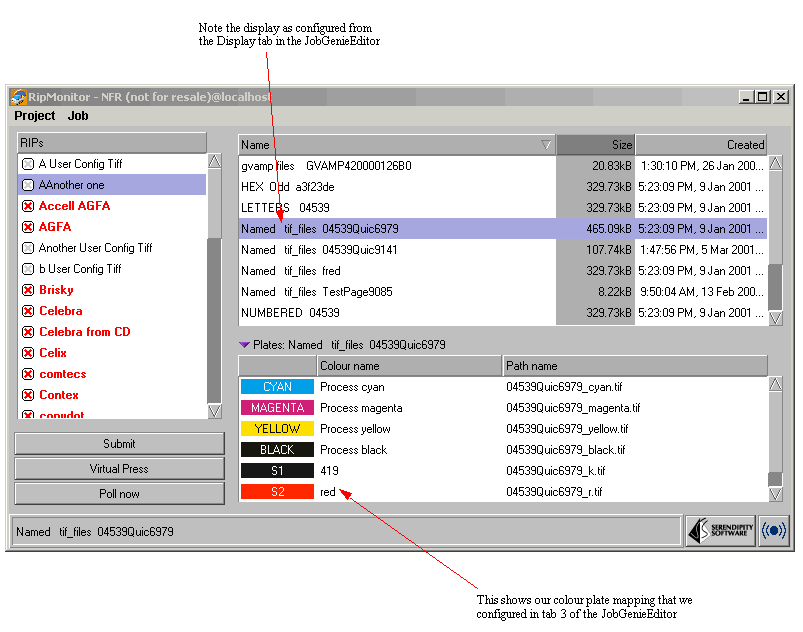
To see where we configured the special colours see plate mapping on If you look back at the names that we are trying to capture, you will see that this task will get jobs with special plates of `r' and `k'. As we are defining the plates as words, these plates will not be allocated a special colour automatically but instead appear as S1 and S2 accordingly. We can overcome this by mapping the letters to real names. If all of your files are not shown in the RIP Monitor, then you probably have to create another task for the JobGenie to catch the other files. In our examples at the start of this tutorial, we had a number of different names that would not be grouped by the first task. We created a few more tasks to get the other files. See the examples below.